Secret Door Installation: What You Need to Know
Secret Door Installation: What You Need to Know
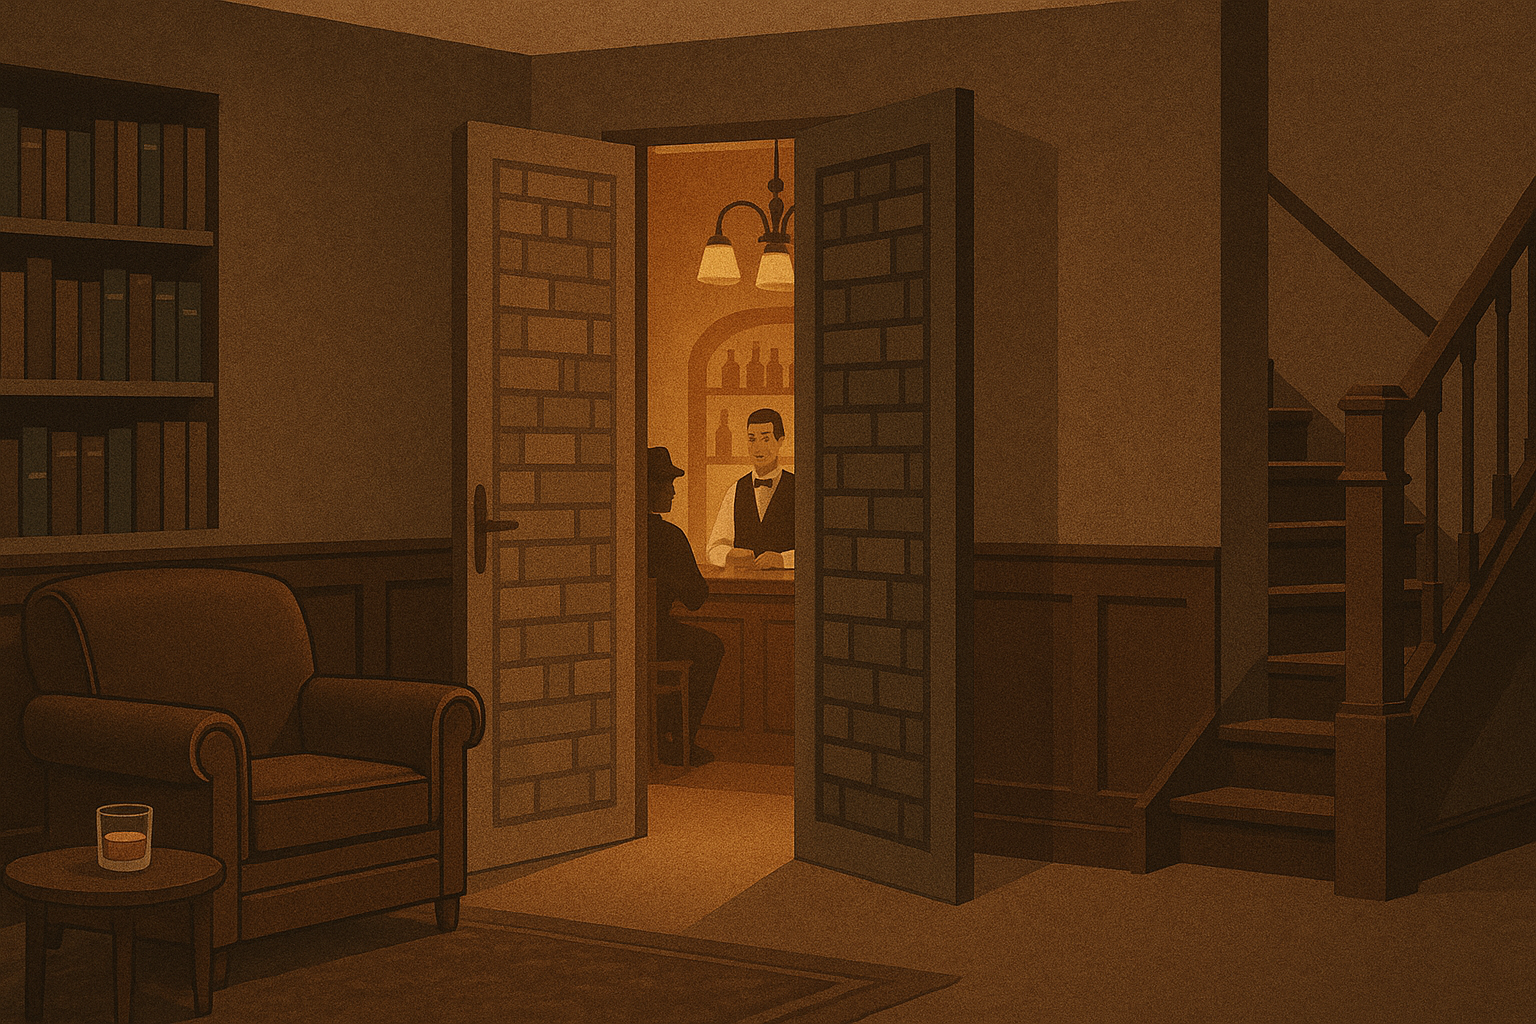
Installing a secret door is one of the most exciting home improvement projects you can undertake, but it's also one of the most complex. Whether you're planning a hidden bookshelf, rotating wall panel, or concealed mirror entrance, proper planning and installation are crucial for safety, functionality, and longevity. Here's your comprehensive guide to secret door installation.
Pre-Installation Planning
1. Assess Your Space
Before choosing a secret door type, carefully evaluate your basement:
Structural Considerations
- Wall Type: Load-bearing vs. non-load-bearing walls
- Ceiling Height: Minimum clearances for door mechanisms
- Floor Conditions: Level surfaces and structural support
- Existing Utilities: Electrical, plumbing, HVAC routing
Space Requirements by Door Type
- Bookshelf Door: Minimum 36" width, 7-8' height
- Rotating Wall: 10'x10' minimum room size
- Mirror Door: 24-48" width, standard ceiling height
- Panel Door: Variable based on wall size
Clearance Zones
- Swing radius for hinged doors
- Rotation clearance for pivoting mechanisms
- Access space for maintenance
- Emergency exit requirements
2. Choose Your Mechanism
Pivot Hinges (Most Common)
- Pros: Smooth operation, reliable, cost-effective
- Cons: Visible hinge line, weight limitations
- Best For: Bookshelf doors, lightweight panels
- Cost Range: $200-800
Linear Bearings
- Pros: Very smooth operation, handles heavy weight
- Cons: More expensive, complex installation
- Best For: Heavy stone or wood panels
- Cost Range: $500-2,000
Rotating Mechanisms
- Pros: Dramatic effect, stable operation
- Cons: Complex engineering, space requirements
- Best For: Entire wall sections
- Cost Range: $2,000-8,000
Sliding Systems
- Pros: Space-efficient, reliable
- Cons: Visible tracks, regular maintenance
- Best For: Panel doors, modern aesthetics
- Cost Range: $300-1,500
Building Codes and Permits
Safety Requirements
Egress Regulations
- Hidden rooms must have proper emergency exits
- Basement bedrooms require egress windows
- Exit doors must open from inside without keys
- Panic hardware may be required for commercial-style locks
Fire Safety
- Smoke detectors required in hidden spaces
- Fire-rated doors may be needed for certain applications
- Sprinkler systems must be extended to concealed areas
- Clear exit paths must be maintained
Structural Compliance
- Load calculations for door mechanisms
- Proper anchoring to structural elements
- Compliance with local building codes
- Professional engineering may be required
Permit Requirements
When Permits Are Required
- Structural modifications to load-bearing walls
- Electrical work for lighting or motors
- Plumbing installations in hidden spaces
- Adding rooms that affect home square footage
Permit Process
- Submit detailed plans to building department
- Include structural engineering if required
- Schedule inspections at key milestones
- Obtain certificate of occupancy for new spaces
Timeline Considerations
- Permit approval: 2-6 weeks
- Inspection scheduling: 1-2 weeks notice required
- Corrections and re-inspections: Variable
Installation Process Step-by-Step
Phase 1: Preparation (Week 1)
Site Assessment
- Verify measurements and clearances
- Identify utilities and plan routing
- Check wall plumb and square
- Prepare work area and access routes
Material Delivery
- Hardware and mechanism components
- Door construction materials
- Finishing materials and trim
- Tools and safety equipment
Utility Coordination
- Temporary power and lighting setup
- Protection of existing systems
- Scheduled shutdowns if necessary
Phase 2: Structural Work (Weeks 2-3)
Framing Modifications
- Install additional supports for door mechanism
- Create rough opening to specifications
- Add reinforcement for hardware attachment
- Route utilities around new opening
Mechanism Installation
- Install pivot points or tracks
- Test fit all hardware components
- Verify smooth operation before finishing
- Make adjustments for perfect alignment
Safety Systems
- Install emergency lighting
- Add smoke detection systems
- Ensure compliance with exit requirements
- Test all safety features
Phase 3: Door Construction (Weeks 3-4)
Frame Assembly
- Build door frame to precise specifications
- Install reinforcement for hardware
- Route wiring for integrated lighting
- Apply primer and base finishes
Panel Installation
- Attach facing materials (books, mirrors, panels)
- Install shelving or display elements
- Add lighting fixtures if included
- Apply final finishes and details
Hardware Mounting
- Attach door to mechanism
- Adjust for smooth, quiet operation
- Install locking mechanisms if desired
- Test full range of motion
Phase 4: Finishing (Week 4-5)
Trim and Molding
- Install casing around opening
- Add baseboard and ceiling trim
- Caulk and fill all gaps
- Prime and paint all surfaces
Interior Finishing
- Complete hidden room construction
- Install flooring, lighting, and fixtures
- Add furniture and decorative elements
- Final cleaning and setup
Testing and Adjustment
- Full operational testing
- Lubrication of all moving parts
- Final adjustments for perfect fit
- Documentation of maintenance requirements
Common Installation Challenges
Structural Issues
Problem: Discovering utilities in the wall Solution: Plan thorough investigation before starting; budget for utility relocation
Problem: Wall not plumb or square Solution: Build frames to correct irregularities; may require shimming
Problem: Insufficient structural support Solution: Add reinforcement or consider different mechanism type
Mechanism Problems
Problem: Door binding or sticking Solution: Check alignment, adjust hardware, lubricate moving parts
Problem: Visible gaps around door Solution: Adjust door position, add weather stripping, modify trim
Problem: Noise during operation Solution: Lubricate hinges, add dampening material, check for interference
Finishing Challenges
Problem: Misaligned trim or molding Solution: Use flexible caulk, adjust cutting angles, consider trim replacement
Problem: Door doesn't match existing décor Solution: Refinish to match, update surrounding area for continuity
Problem: Hardware showing when door is closed Solution: Recess hardware, use concealed hinges, modify door design
Professional vs. DIY Installation
DIY-Friendly Aspects
- Simple bookshelf doors with standard hinges
- Basic mirror doors with pivot hardware
- Finishing work and painting
- Interior decoration of hidden space
Professional-Required Elements
- Complex rotating mechanisms
- Structural modifications
- Electrical work
- Permit applications and inspections
Tools Required for DIY
- Circular saw or miter saw
- Drill with various bits
- Level (4-foot minimum)
- Router for hinge mortises
- Measuring tools and squares
- Safety equipment
When to Call a Professional
- Load-bearing wall modifications
- Complex mechanism installations
- Electrical or plumbing work
- When permits are required
- If you lack necessary tools or experience
Maintenance and Longevity
Regular Maintenance Tasks
Monthly Checks
- Test door operation for smooth movement
- Listen for unusual sounds
- Check locking mechanisms
- Verify safety systems function
Quarterly Maintenance
- Lubricate hinges and moving parts
- Tighten loose hardware
- Clean tracks and guides
- Inspect for wear or damage
Annual Service
- Professional mechanism inspection
- Adjustment of door alignment
- Replacement of worn components
- Update lubrication of all moving parts
Signs of Problems
Immediate Attention Required
- Door won't close properly
- Binding or sticking during operation
- Unusual noises (grinding, squeaking)
- Visible gaps or misalignment
Scheduled Maintenance Needed
- Slower operation than normal
- Increased effort to open/close
- Minor squeaking or clicking sounds
- Finish wear on high-contact areas
Cost Considerations
Budget Breakdown
Basic Bookshelf Door
- Hardware and mechanism: $500-1,500
- Materials and construction: $1,000-2,500
- Professional installation: $1,500-3,000
- Total Range: $3,000-7,000
Rotating Wall Panel
- Hardware and mechanism: $3,000-8,000
- Materials and construction: $2,000-5,000
- Professional installation: $3,000-7,000
- Total Range: $8,000-20,000
Additional Costs
- Permits and inspections: $200-1,000
- Utility modifications: $500-2,000
- Finishing of hidden space: $5,000-25,000
- Ongoing maintenance: $200-500/year
Value-Adding Features
- High-quality hardware for smooth operation
- Integrated lighting systems
- Security features and locking mechanisms
- Professional-grade finishes
Final Considerations
Resale Value
Secret doors can add significant value and interest to your home, but consider:
- Quality of installation affects perceived value
- Some buyers may see them as gimmicky
- Proper documentation helps with resale
- Unique features often attract specific buyer types
Insurance Considerations
- Notify your insurance company of significant modifications
- Proper permits help with coverage claims
- Document installation with photos and receipts
- Consider additional coverage for valuable hidden items
Long-Term Planning
- Plan for changing mobility needs
- Consider how children will interact with mechanisms
- Think about maintenance access as you age
- Design for potential future modifications
Getting Started
Ready to install your secret door? Follow these first steps:
- Define Your Vision: What type of door and hidden space do you want?
- Assess Your Space: Measure carefully and identify any constraints
- Research Local Codes: Contact your building department about requirements
- Get Professional Consultation: Even if DIYing, get expert advice on complex elements
- Create a Timeline: Plan around family life and other home projects
- Budget Realistically: Include contingencies for unexpected issues
Installing a secret door is a complex but rewarding project that can transform your basement into something truly special. With proper planning, quality materials, and attention to detail, your hidden space will provide years of enjoyment and add unique character to your home.
Ready to start your secret door project? Contact Affordable Basements for professional consultation, installation, and finishing services. We'll help you navigate every aspect from planning to completion, ensuring a safe, functional, and amazing result.
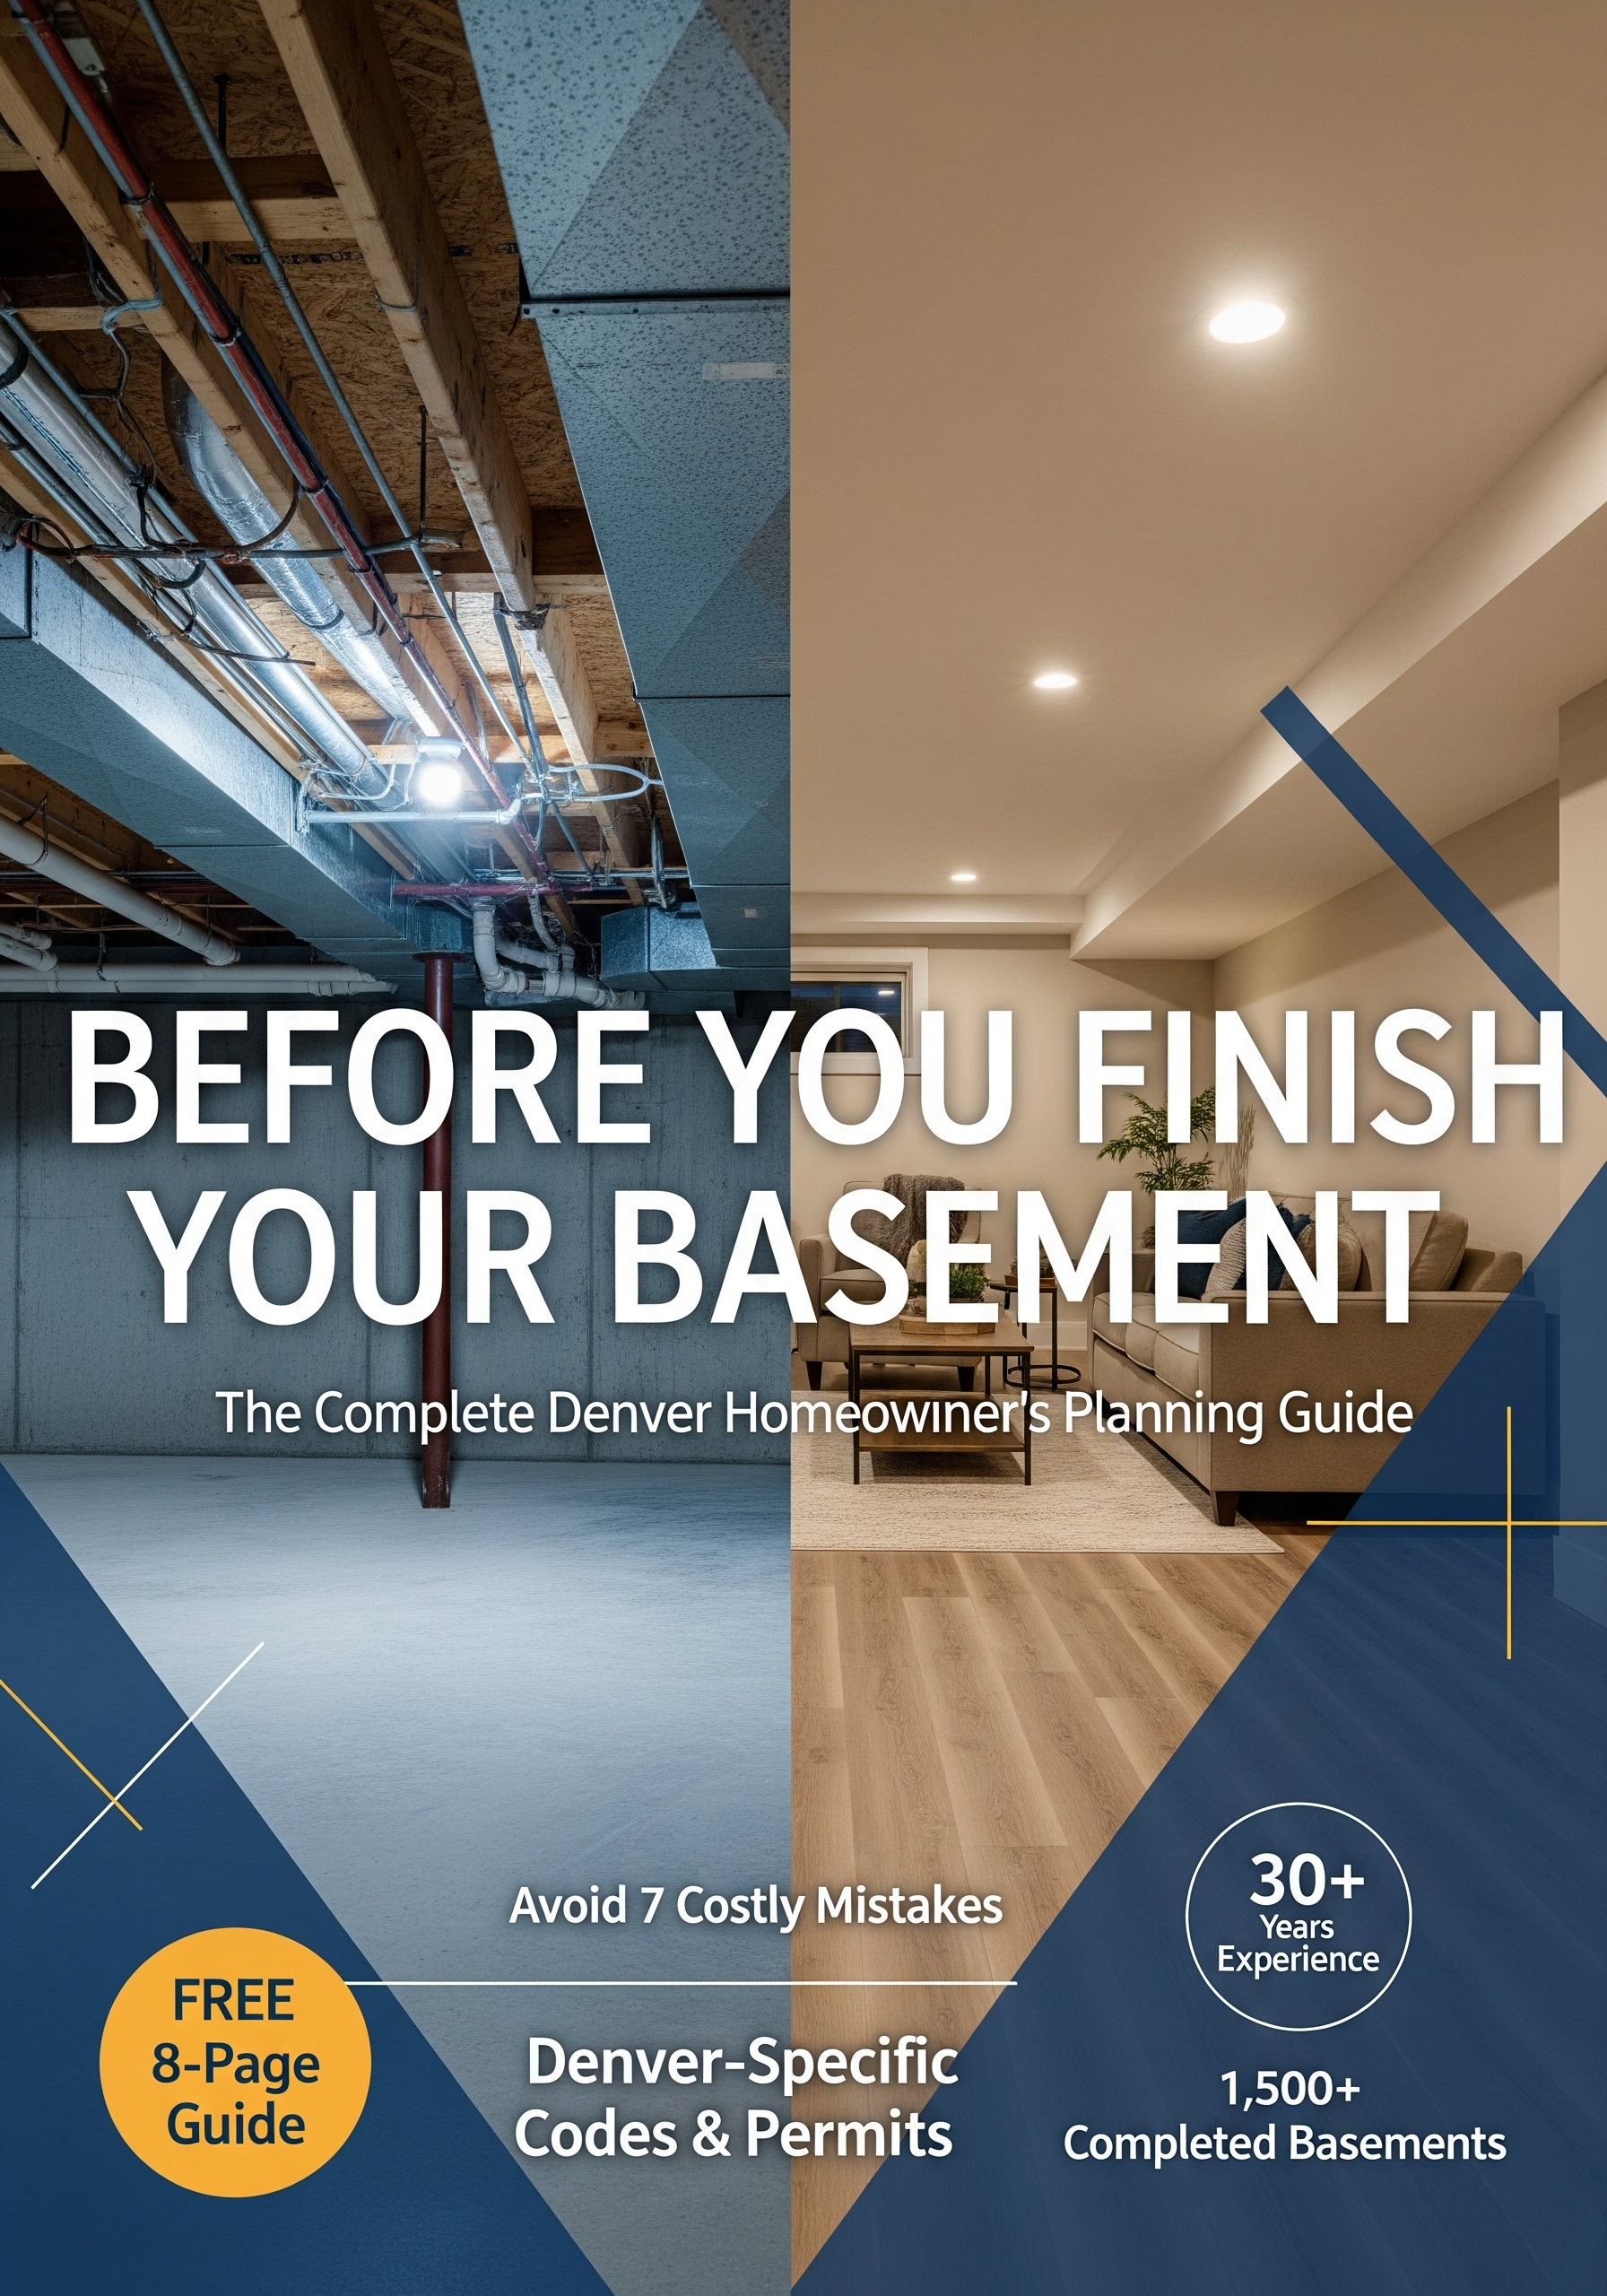
Before You Finish Your Basement
Download our comprehensive free guide trusted by 1,500+ Denver homeowners. Avoid costly mistakes and plan your transformation like a pro.